5-Minute OpenClaw Deployment on VPSMAC M4: Install and Configure on Remote macOS
Get OpenClaw running on a VPSMAC bare-metal M4 node in under five minutes. This guide walks you through SSH access, installation, configuration, and a first-run check so you can start automating macOS and iOS workflows immediately.
Why Deploy OpenClaw on VPSMAC M4?
OpenClaw is an AI automation agent that uses computer vision and task orchestration to simulate real user interactions on macOS. It can drive Xcode builds, run UI tests, and handle App Store submission flows. For it to work reliably, it needs a stable, native macOS environment with direct GPU access and low UI latency. Virtualized or shared cloud instances often introduce driver quirks, rendering delays, or OS restrictions that cause vision-based agents to misread the screen or fail mid-task. VPSMAC provides dedicated M4 Mac mini nodes: bare-metal Apple Silicon with full GPU and display pipeline, so OpenClaw operates with minimal latency and maximum consistency. This guide assumes no prior OpenClaw experience; you only need a VPSMAC node and SSH access to complete the setup in under five minutes.
Prerequisites
Before starting, ensure you have: a VPSMAC M4 node provisioned and running macOS Sonoma or later; SSH credentials (IP, port, and key or password); and network access to the node from your machine. The steps below assume you have already leased a node from the VPSMAC dashboard and received your connection details via email or the control panel.
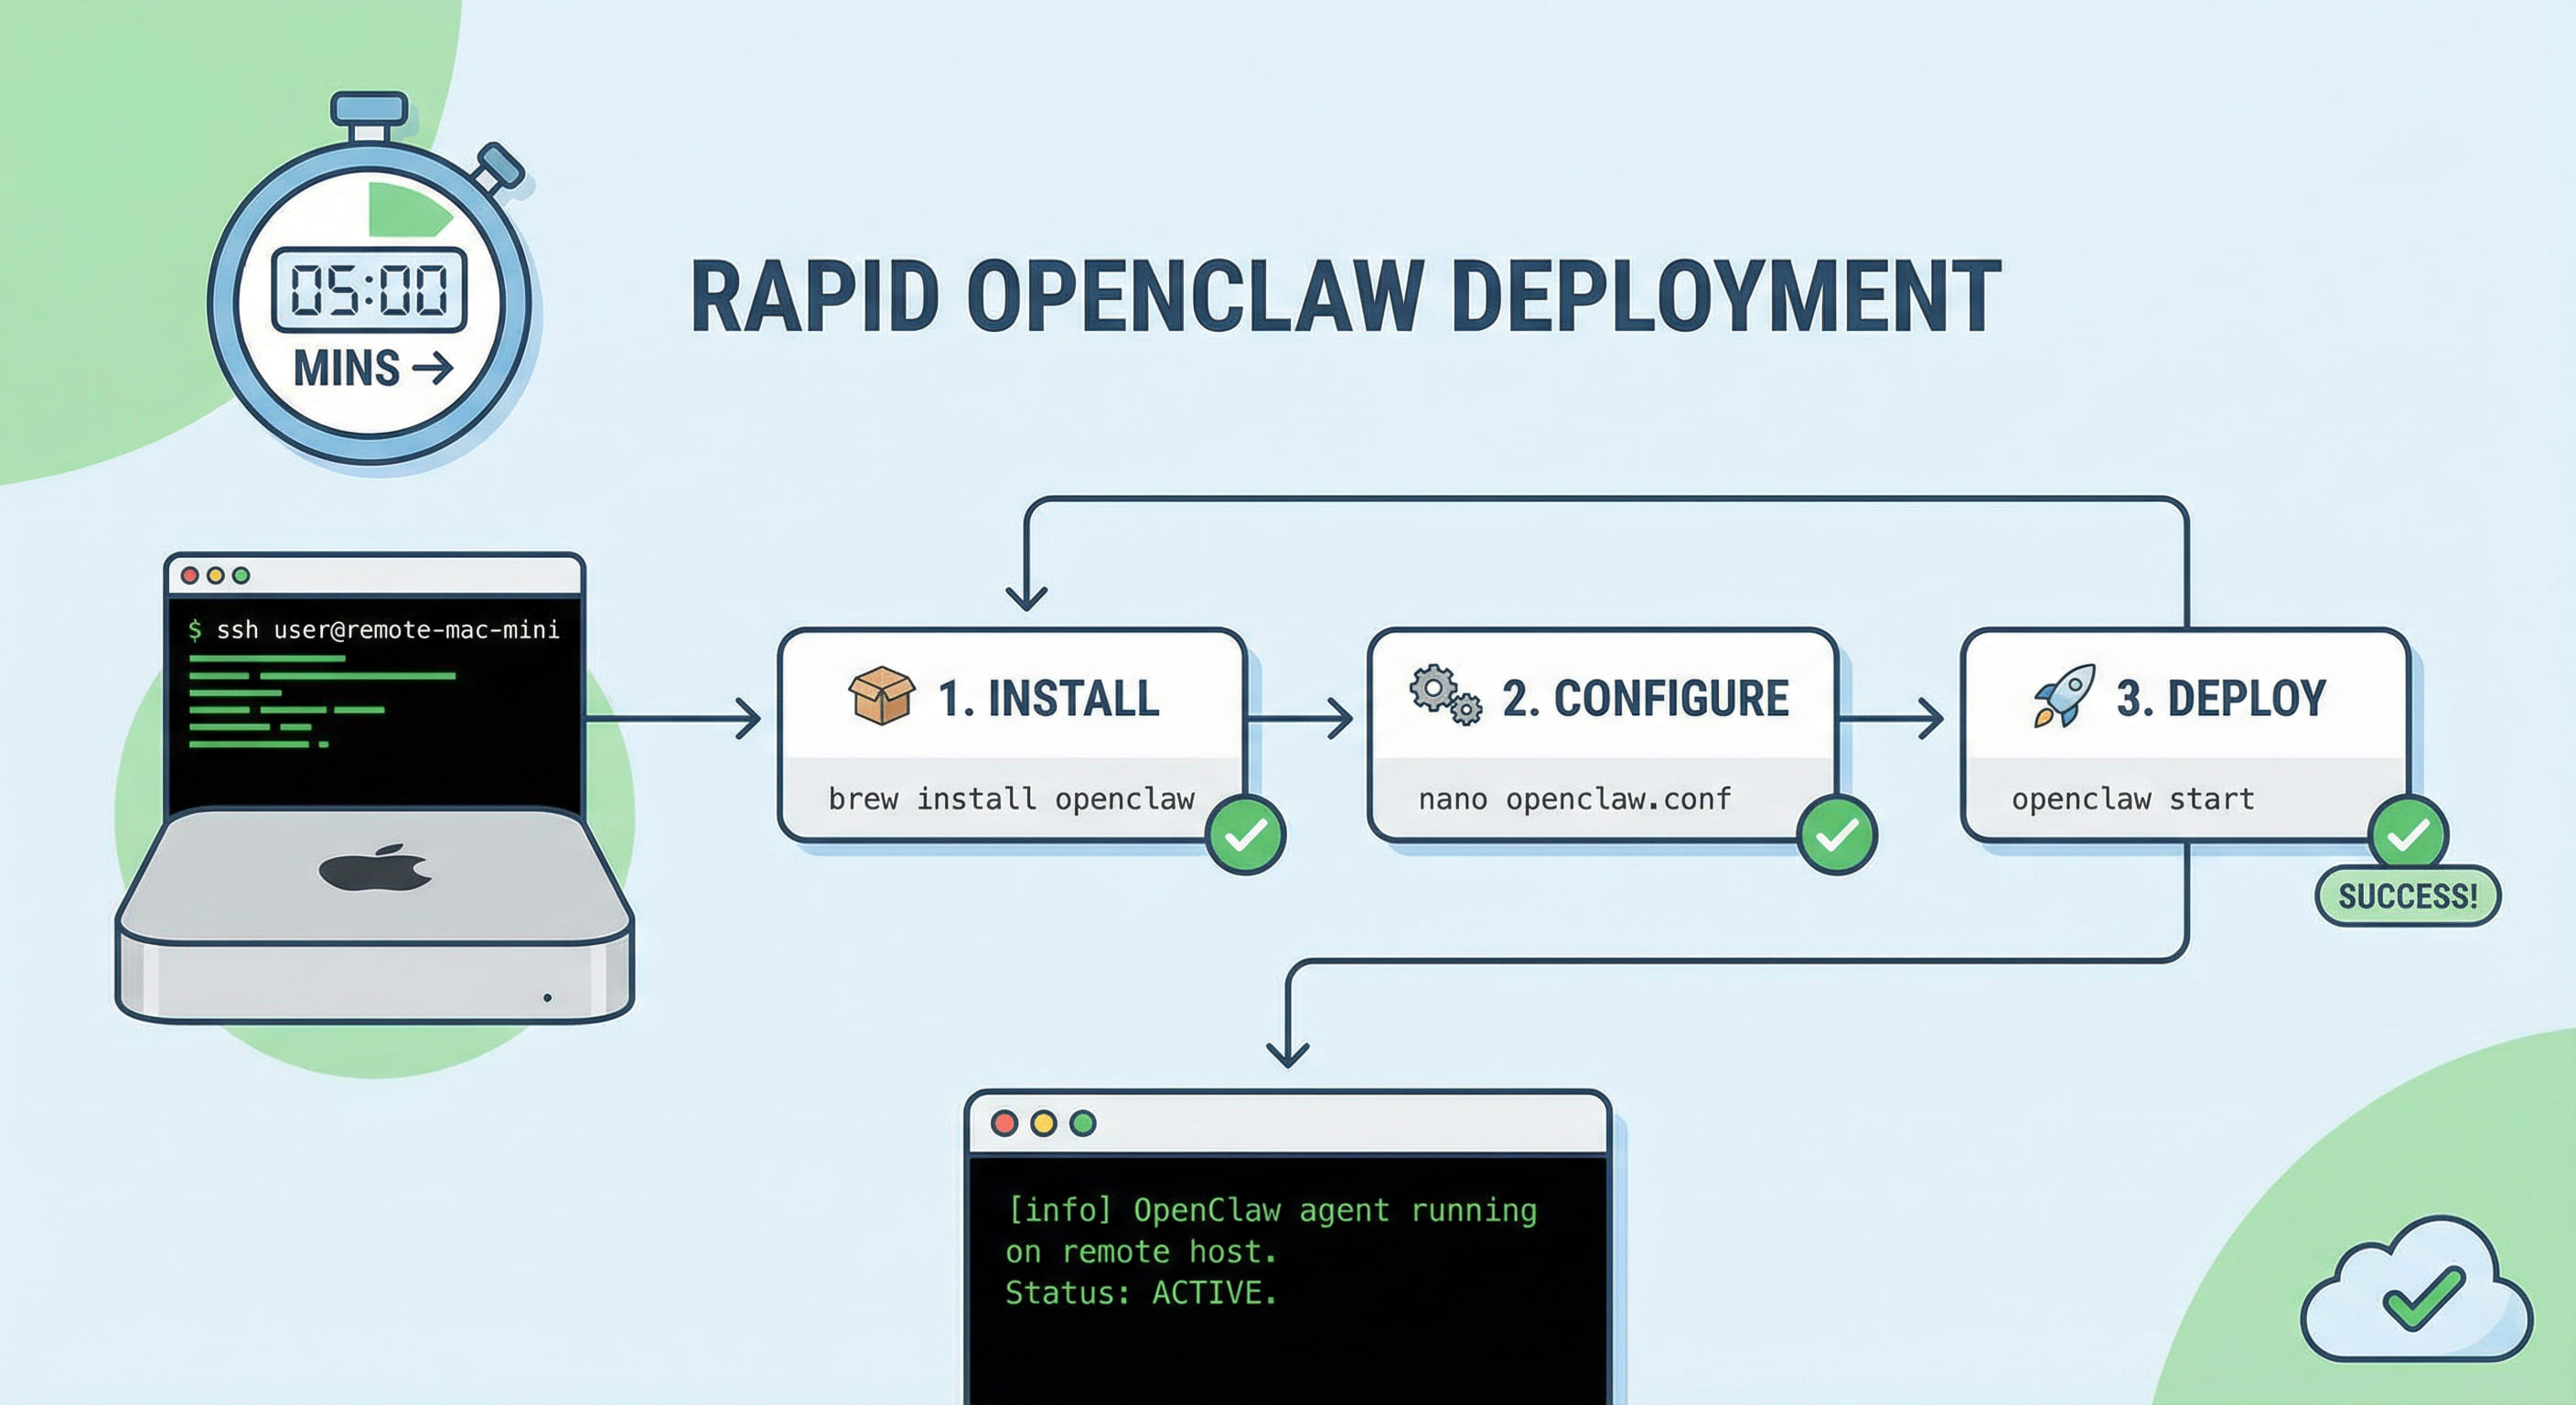
Step 1: Connect and Verify the Environment (about 1 minute)
From your local terminal, SSH into the node using the credentials provided by VPSMAC. Replace the placeholder with your node’s IP and port if non-standard.
Once connected, confirm you are on Apple Silicon and that the GUI is available (required for OpenClaw’s vision stack). Run:
If you see arm64 and an M4 chip, the environment is correct. Keep this SSH session open for the next steps.
Step 2: Install OpenClaw (about 2 minutes)
OpenClaw can be installed via the official installer or Homebrew. The Homebrew method is recommended for easy updates. On the remote node, install Homebrew if it is not already present, then install OpenClaw.
Alternatively, download the latest macOS ARM64 package from the official OpenClaw releases page and install the application to /Applications. For CLI-driven automation on a headless or VNC-accessed node, the Homebrew CLI binary is usually sufficient. Verify the installation:
You should see a version string. If the command is not found, ensure /opt/homebrew/bin (or the path where openclaw-cli was installed) is in your PATH.
Step 3: Configure OpenClaw for the M4 Node (about 1 minute)
Create a minimal config so OpenClaw uses the local display and GPU. On the VPSMAC node, the default display is typically available when you are connected via VNC or when a virtual display is configured. Create or edit the OpenClaw config file:
environment: physical-m4 tells OpenClaw it is running on dedicated Apple Silicon hardware, so it can enable optimizations such as native GPU-backed screen capture. display: default uses the primary display; adjust if your node uses a specific display index. Save the file and confirm:
If validation passes, you are ready to start a session.
Step 4: Start a Session and Run a First Task (about 1 minute)
Start a named session so you can attach workflows later. Run:
In another terminal (or in the background), trigger a simple health task to confirm the agent can see the desktop and execute a basic action. For example, run a built-in sanity check if your OpenClaw build provides one:
If you do not have a prebuilt workflow, you can run a one-off command that opens an app and closes it, or use the OpenClaw CLI’s interactive mode to confirm screen capture and input injection. Once this succeeds, OpenClaw is correctly installed and configured on your VPSMAC M4 node.
Technical Note: Why Physical M4 Matters for OpenClaw
OpenClaw’s vision pipeline depends on low-latency, high-fidelity screen capture and GPU-accelerated image processing. On bare-metal M4, the agent gets direct access to the display buffer and Apple’s Metal APIs, which reduces frame delay and improves recognition accuracy. In contrast, in virtualized or nested environments, the display path often goes through a software framebuffer or a paravirtualized GPU, adding latency and sometimes altering pixel layout or timing. That can cause the agent to misidentify UI elements or miss transient states. Physical M4 nodes also avoid the resource contention typical of shared VMs, so CPU and GPU remain dedicated to your automation workload. For production use—especially for unattended nightly builds, TestFlight uploads, or long-running UI test suites—running OpenClaw on VPSMAC’s dedicated M4 hardware is the recommended setup.
Next Steps
With OpenClaw installed and validated on your VPSMAC node, you can define custom workflows (e.g. clone repo, build in Xcode, run tests, upload to TestFlight), schedule them via cron or a CI trigger, and leave the node running 24/7 so automation continues without tying up your local machine. Combine this with the one-person iOS team pattern: lease one or more M4 nodes, deploy OpenClaw on each, and scale your automated pipelines on demand. For detailed workflow authoring and best practices, refer to the official OpenClaw documentation and the VPSMAC blog post on building an autonomous iOS pipeline with M4 compute and OpenClaw.