2026 All-New OpenClaw One-Click Deployment Guide: From Script Installation to Multi-Channel Troubleshooting
As we move into 2026, OpenClaw has evolved from an experimental tool into an enterprise-grade AI Agent hosting platform. For developers seeking 24/7 stability, achieving an efficient, secure, and maintainable deployment on a Mac VPS is the primary challenge. This guide provides a full operational walkthrough from environment initialization to multi-channel integration.
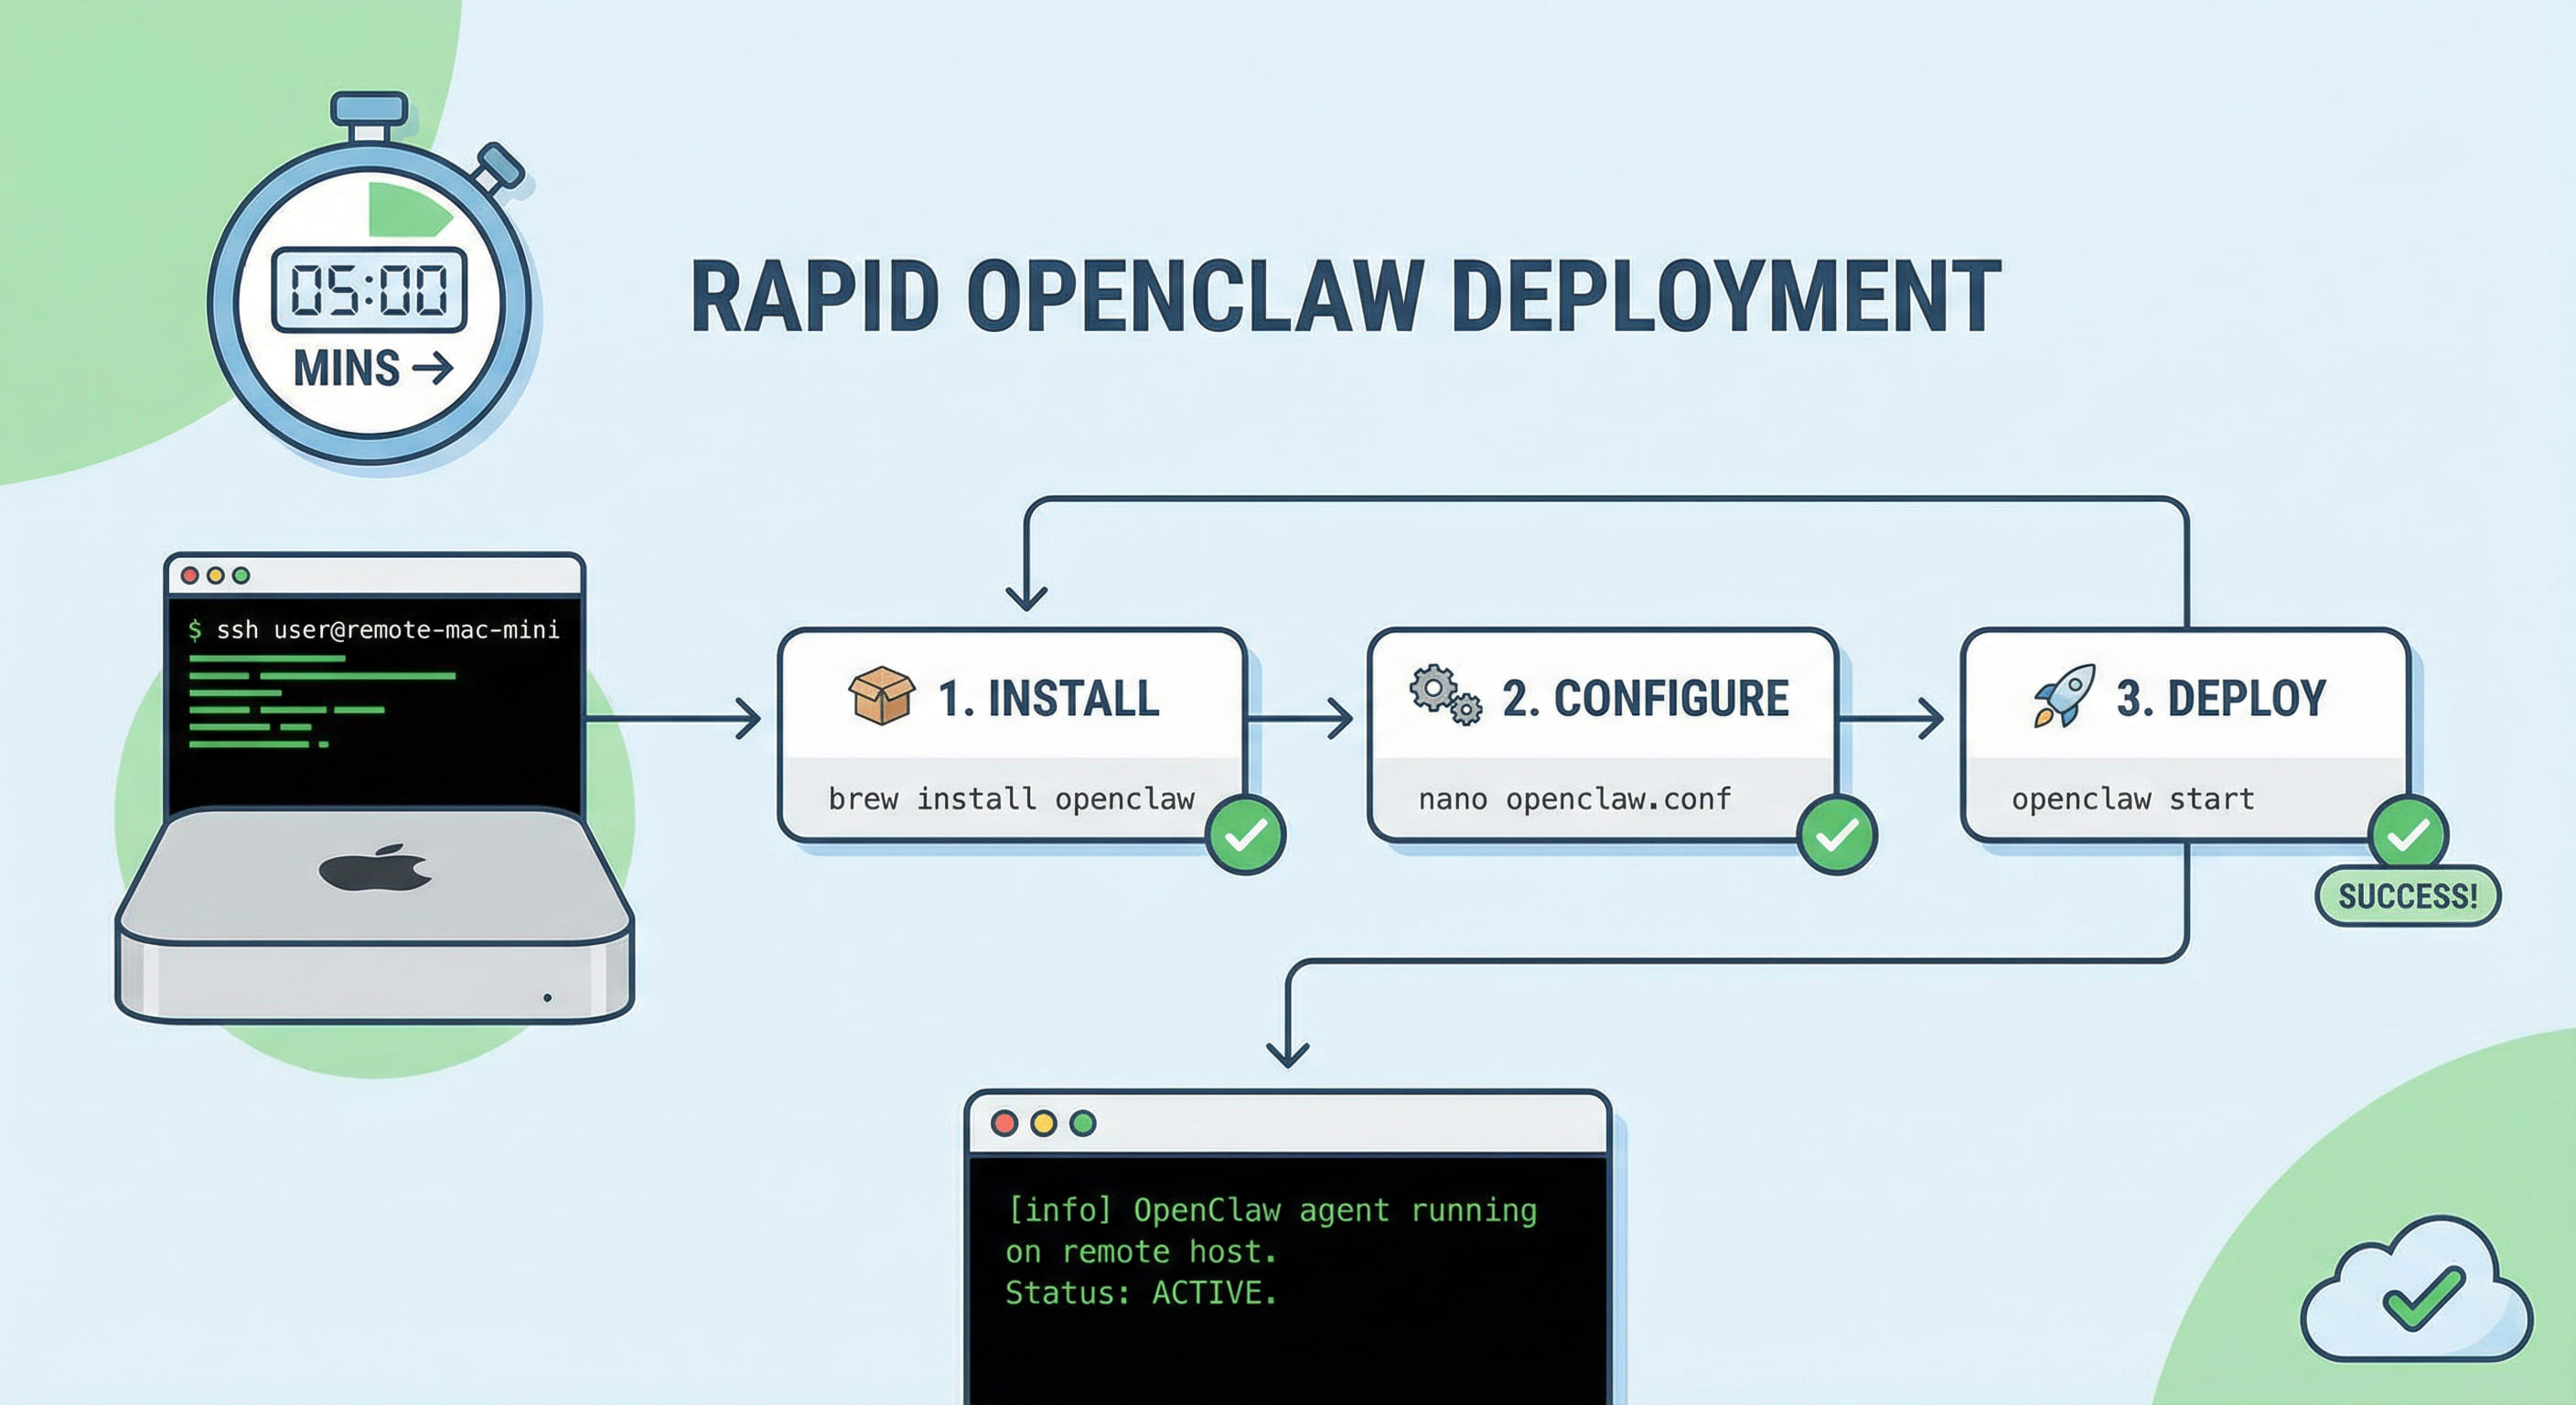
Table of Contents
- 1. Pain Points of AI Agent Deployment in 2026
- 2. Decision Matrix: Script, Docker, or Source?
- 3. 5-Step Guide: Rapid OpenClaw Deployment on Mac VPS
- 4. Troubleshooting: Port 18789 and Gateway Auth
- 5. Hardening: Zero-Trust with Tailscale & MCP Policies
- 6. Conclusion: Why Native Environments are Optimal for AI
1. Pain Points of AI Agent Deployment in 2026
In the context of 2026 AI development, deploying an autonomous agent is no longer just about "making it run." With the release of OpenClaw v2026.4, developers face unprecedented complexity:
- Dependency Conflicts: The strict requirements of Node.js 22+ and differences in underlying OS libraries often lead to installation errors.
- Permissions and Isolation: AI Agents need to execute local commands (file ops, Git commits). Improper permission management can expose the host machine to significant security risks.
- Network Instability: Traditional Linux VPS instances often struggle with accessing overseas model APIs or pulling large GitHub dependencies due to network blocking.
- Multi-Channel Message Loss: When an agent integrates with Telegram, Discord, or Slack, Webhook authentication failures and port conflicts are common "silent killers" of long-term stability.
Given these pain points, deploying on a Mac VPS with a native macOS environment, stable international transit, and high-performance compute has become the gold standard for professional developers. VPSMAC's M4 nodes, powered by Unified Memory architecture, provide superior support for local inference and concurrent agent tasks.
2. Decision Matrix: Script, Docker, or Source?
Before proceeding, we must choose the most suitable deployment path based on specific requirements. Here is a comparison of the mainstream 2026 methods:
| Method | Pros | Cons | Use Case |
|---|---|---|---|
| One-Click Script (install.sh) | Extremely simple, handles env vars and dependencies, standardized paths. | Requires a clean system, less room for fine-grained customization. | First-time setup, rapid Mac VPS onboarding. |
| Docker Compose | Full environment isolation, easy rollbacks, handles multiple instances. | Additional IO overhead on Mac, complex permission mapping (uid 1000). | Enterprise production, high-security requirements. |
| Source (Pnpm) | Deep logic customization, zero performance loss, ideal for debugging. | Highest maintenance cost, requires manual conflict resolution during updates. | Core developers, modifying OpenClaw internals. |
3. 5-Step Guide: Rapid OpenClaw Deployment on Mac VPS
The following steps are based on the macOS 15+ environment provided by VPSMAC, which comes pre-configured with Node.js 22. Execute these in your SSH session:
Step 1: Execute the Official One-Click Script
The 2026 version of the install.sh script includes built-in optimizations for Apple Silicon. Run the following in your terminal:
The script will create the ~/.openclaw directory and set up the global openclaw command. Remember to run source ~/.zshrc to refresh your path.
Step 2: Onboard Initialization and Gateway Config
Run the initialization command to set up basic authentication and generate your gateway token:
Pro Tip: When prompted for the gateway mode, choose Local + Remote. This ensures the local 18789 port is accessible while allowing secure synchronization with the cloud Dashboard.
Step 3: Configure Daemon (Launchd)
On a Mac Cloud host, you don't want to maintain the SSH connection manually. Use the following commands to register OpenClaw as a system service:
This generates a plist file in ~/Library/LaunchAgents, ensuring the agent starts automatically after a reboot.
Step 4: Multi-Channel Integration (Telegram/Slack)
Edit your ~/.openclaw/config.yaml to add your credentials. The 2026 standard requires using the SecretRef pattern for enhanced security:
Step 5: Health Check and Connectivity Validation
Use the built-in diagnostic tools to verify gateway and channel status:
4. Troubleshooting: Port 18789 and Gateway Auth
Even with a one-click script, you may encounter issues due to network policies or residual processes. Here are the two most common scenarios:
Scenario A: Port Conflict (EADDRINUSE)
If you see Port 18789 already in use when starting the gateway, it usually means a previous process didn't exit cleanly. Troubleshooting steps:
- Run
lsof -i :18789to find the PID. - Kill the residual
nodeprocess withkill -9 [PID]. - Check if
gateway.bindis set to0.0.0.0inconfig.yamlto allow external API access if needed.
Scenario B: Fetch Failed / Gateway Auth Exception
This is a common "after-update" issue in 2026. It occurs when the CLI's cached token doesn't match the one in gateway.auth. To fix:
5. Hardening: Zero-Trust with Tailscale & MCP Policies
Running an AI Agent on the public internet requires serious security. We recommend these hardening measures:
- Disable Public Access: Set
gateway.bindback to127.0.0.1and use Tailscale to create a private network. Log in to Tailscale on your local machine to access the remote Mac's OpenClaw Dashboard as if it were on your local network. - MCP (Model Context Protocol) Isolation: In the 2026 version, you can set resource limits for each stdio tool. Limit
maxConcurrentandtimeoutintools.yamlto prevent runaway tasks from hogging M4 CPU time. - Audit Logs: Sync
logs.jsonlto a remote monitor to capture any unexpected agent behavior in real-time.
6. Conclusion: Why Native Environments are Optimal for AI
In this guide, we've explored the one-click deployment and optimization of OpenClaw on a Mac VPS. While virtualization on Windows or standard Linux VPS can run basic demos, significant gaps appear when you require Apple ecosystem automation (Xcode control), high-performance local inference (MLX acceleration), and 24/7 reliability.
Windows solutions often suffer from filesystem performance lags and unpredictable update-related reboots. Linux environments, while robust, natively lack support for Core Apple tools like Xcode 26, limiting your AI's potential in CI/CD pipelines. Native macOS offers seamless toolchain integration and operational consistency, making it the premier platform for "Digital Employees."
If you are looking for an environment that provides high-speed international networking, perfect compute for OpenClaw, and the ease of SSH-based management, VPSMAC's M4 Mac nodes are the ultimate choice. Our 90-second API provisioning and bare-metal performance will take your AI Agent to the next level of productivity.