2026 OpenClaw Masterclass: Migrating Windows/WSL2 Tech Stacks to Mac Cloud for AI Workflows
For developers deeply rooted in Windows and WSL2, the 2026 OpenClaw updates bring massive potential but also expose infrastructure weaknesses. This guide details how to port your WSL2 habits to high-performance M4 Mac Cloud nodes, overcoming Hyper-V instability and networking complexity to build industrial-grade AI automation.
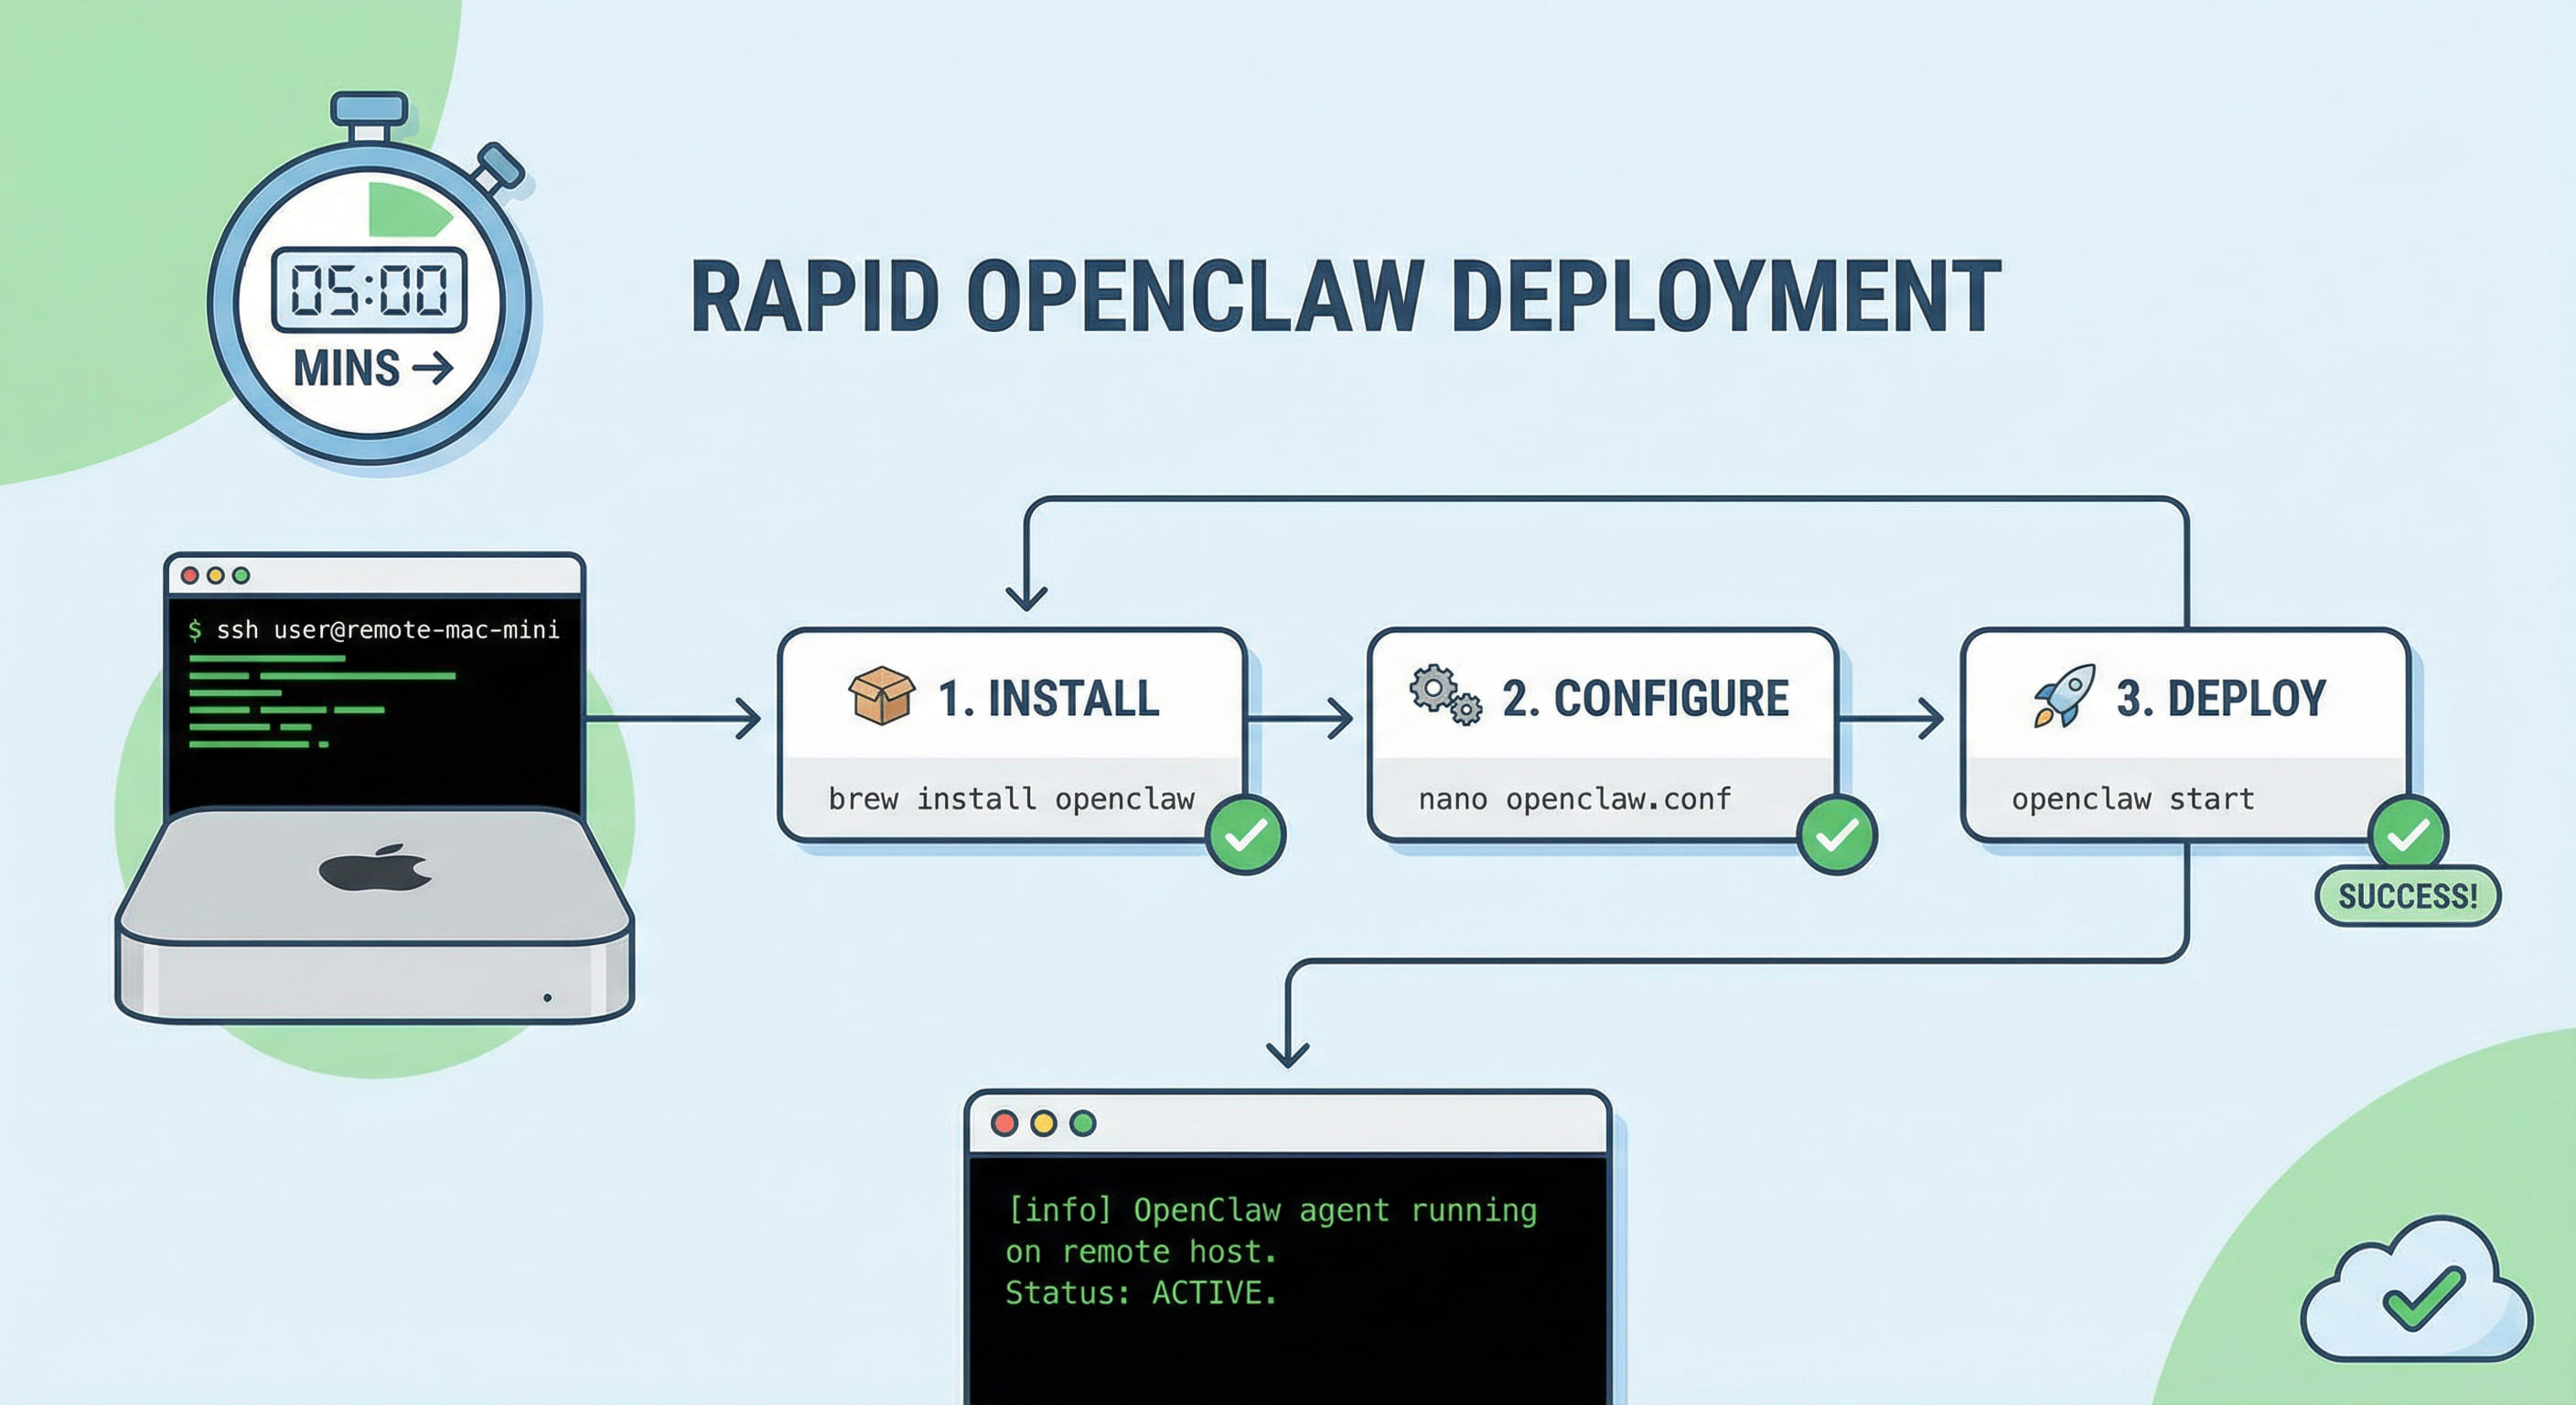
Table of Contents
1. Legacy Bottlenecks of OpenClaw on WSL2 in 2026
While WSL2 (Windows Subsystem for Linux) has matured significantly by 2026, it still presents hurdles for OpenClaw—an AI agent that demands high network availability, persistent processes, and native system API access:
- Hyper-V & Update Reboots: Mandatory Windows updates or host restarts often terminate Hyper-V instances, killing the OpenClaw agent. Post-reboot IP changes frequently break local port-forwarding and tunneling.
- Path Latency & Git Conflicts: Running Node.js projects within `/mnt/c/` leads to significant I/O degradation and permission 'magic' that disrupts RAG index indexing and database writes.
- Egress Networking Complexity: The dual-NAT structure of WSL2 makes routing Telegram/Discord bot traffic complex, often requiring host-side proxy bridges that add lag and points of failure.
2. Migration Decision Table: WSL2 vs. Mac Cloud
Why are Windows power users moving their OpenClaw production nodes to Mac Cloud? The math of stability vs. maintenance is clear:
| Criteria | WSL2 / Local PC | M4 Mac Cloud (VPSMAC) |
|---|---|---|
| Persistence | Subject to host sleep/restarts | 7×24 Physical-grade uptime |
| Network Stack | Dual NAT; Tunneling required | Native Public IP + Mesh VPN (Tailscale) |
| I/O Performance | Virtualized disk overhead | Apple M4 Native NVMe Storage |
| Dev Habits | Windows-centric GUI | SSH-first; 100% Linux/Dev habit compatibility |
| OpEx | Electricity & Hardware wear | Predictable monthly subscription |
3. 5-Step Implementation: Deploying OpenClaw on Mac
You can keep your favorite CLI workflows from WSL2. On Mac Cloud, the process is actually cleaner and more transparent.
Step 1: Rapid Node.js Prep
Mac Cloud nodes come dev-ready. Use Homebrew or nvm to install the 2026-standard Node.js 22:
node -v # Verify v22.x.x
Step 2: Global OpenClaw Installation
Permission management is straightforward in the native macOS environment. Install the latest OpenClaw globally:
openclaw --version
Step 3: Executive Onboarding
The migration bridge. Run the onboarding command and paste your API keys:
Pro Tip: You can mirror your local Windows config by copying `config.json` to `~/.openclaw/config.json` for instant parity.
Step 4: Persistence with PM2
Replace fragile WSL2 backgrounding with PM2 for professional-grade process management:
pm2 start "openclaw start" --name openclaw-agent
pm2 save
Step 5: Boot Survivability
Ensure your agent survives any infrastructure updates by enabling the PM2 startup script:
4. Channel Integration & 24/7 Verification Checklist
OpenClaw’s power lies in Telegram/Slack/Discord integration. On Mac Cloud, you bypass the "egress headache" entirely:
- Telegram Webhooks: Fixed IPs on Mac Cloud allow direct HTTPS webhooks without third-party tunnels like ngrok, reducing latency by 40%.
- Port Auditing: OpenClaw defaults to port 18789. Use `lsof -i :18789` to verify the agent is listening natively.
- Doctor Diagnosis: Run `openclaw doctor` on the Mac node to verify channel connectivity and token scopes.
5. FAQ: Troubleshooting & Best Practices for Windows Devs
Q: Can I still code on Windows but run it on Mac Cloud?
A: Absolutely. Use VS Code with the Remote - SSH extension. You get the same IDE experience as WSL2, but your code runs on high-performance M4 silicon.
Q: Should I use Docker on Mac Cloud for OpenClaw?
A: While Docker is convenient, running Docker on Mac involves a Linux virtualization layer (Docker Desktop). For the lowest latency AI Agent response, native npm installation on macOS is recommended.
While Windows and WSL2 are fantastic for experimentation, they often fail the "production test" for 24/7 AI agents due to sleep cycles, update reboots, and complex networking. By migrating to a dedicated M4 Mac node from VPSMAC, you maintain your CLI habits while gaining industrial reliability and raw Apple silicon acceleration. For serious AI developers, this isn't just a change of server—it's an upgrade to the entire developer experience.